.png)

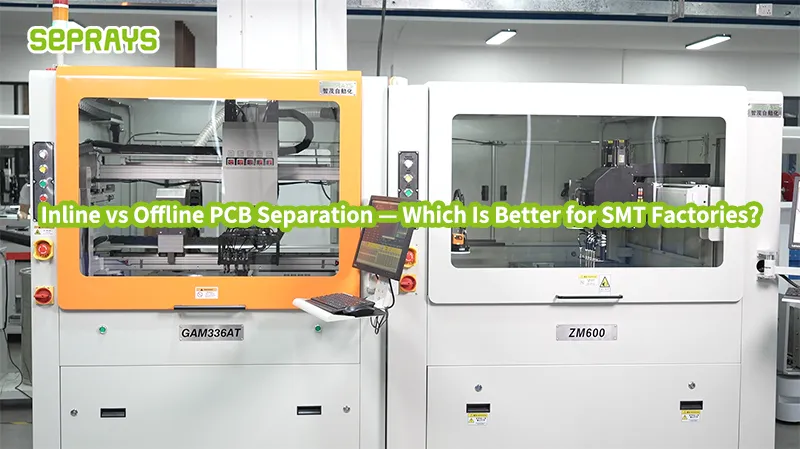
A PCB separator is essential for modern electronics manufacturing.
It ensures clean, accurate board separation, improves productivity, and supports high-volume production.
Let’s take a closer look at how it works, its different types, and how to operate it effectively.
⚙️ 1. Working Principle of a PCB Separator
A PCB separator uses cutting tools such as:
- Router bits (milling cutters)
- Circular blades
- Other mechanical tools
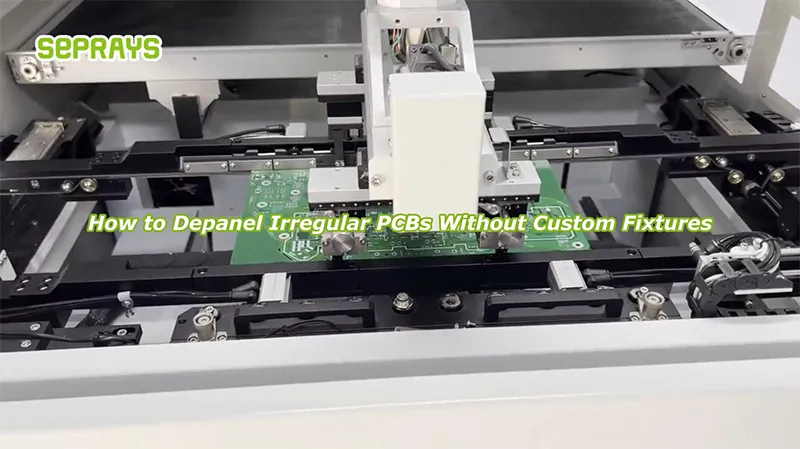
Once the PCB is properly aligned and secured, the machine automatically begins the depaneling process.
Some models are equipped with optical inspection systems.
These systems can detect defects such as:
- Copper exposure
- Cracks or damage during cutting
The machine will then issue an alert or pause for inspection.
🛠️ 2. Types of PCB Separators
There are three main types of PCB separator machines:
✋ Manual Separator
- Requires full manual operation
- Suitable for small batch production
- Low cost, but slower and labor-intensive
🤖 Semi-Automatic Separator
- Operator positions the board manually
- The machine performs the cutting automatically
- Balances manual flexibility with automation
⚡ Fully Automatic Separator
- The entire process is automated
- Ideal for mass production
- Ensures consistency, speed, and safety
🚀 3. Features of an Automatic PCB Separator
Automatic PCB separators offer key advantages:
- High Efficiency
Cuts full panels quickly, speeding up production. - High Precision
Achieves accurate separation to meet tight tolerances. - Improved Safety
Operators stay clear of cutting tools, reducing injury risk. - Labor Savings
Reduces manual handling, lowering operational costs.
🔄 4. Basic Operation Process
Operating a PCB separator is straightforward when following best practices:
- Install the machine securely on a level work surface.
- Power it on, and place the PCB panel on the worktable.
- Load the cutting program into the controller.
- Place the board into the custom fixture.
- Set key parameters like:
- Cutting thickness
- Cutting speed
- Cutting path
- Press start to begin the depaneling cycle.
The machine automatically scans and aligns the panel.
It then performs routing along the programmed path.
Finished PCB sections are separated and transferred to the discharge belt.
Scrap edges are automatically removed and placed into a waste tray.
A new panel is then fed in from the input track to begin the next cycle.
🧠 5. Program Setup and Fine-Tuning
Proper program setup is essential for optimal cutting results.
- Create a cutting path based on the board’s size and shape.
- Run a test panel to check alignment and precision.
- Fine-tune the program if needed to improve cut quality.
- Once optimized, save the program for daily production use.
This ensures consistent performance and minimizes downtime.
✅ Conclusion
Whether you’re producing small batches or large volumes, choosing the right PCB separator and operating it correctly is key to improving yield, quality, and efficiency.
Need help selecting a model or customizing your setup?
Contact us today—our team is ready to support your production goals with professional solutions.